Script Monkey Blog – Animating a cube with Three.js
A blog for coders to show how a cube is animated with Three.js
16th August 2021
It is not easy to wrap your head around Three.js when you first start. Obviously, there are many resources on the net to describe this, but I felt if I explained one of my first attempts at Three.js, it might help someone else scratching their head.
A step by Step Guide to animating a cube in Three.js
There are many resources on the web to show how Three.js can be used, but I found them all a little confusing when I first tried to make a 3D environment and animate it. For that reason, this blog entry describes a simple animation, step by step. I hope it is helpful to anyone starting out in Three.js
Please feel free to send us a message if you like this tutorial.
Pressing 'Z' speeds things up to show how easy interaction is to achieve with these 3D models.
OK, so how was that done, step by step...
The first thing to realise when attempting Three.js is that it is not that horrible if you break it all down, so here goes:
I use Visual Studio Code for HTML and JavaScript - it colours nicely and can column edit. First, open and empty page in the editor of your choice and create the head section which will be custom for your page and is not explained here:
<!doctype html>
<html lang="en">
    <head>
        <title>Animating a cube with Three.js</title>
        <meta charset="utf-8" />
        <meta name="viewport" content="width=device-width, initial-scale=1, user-scalable=no" />
        <meta name="description" content="Animating a cube with Three.js"/>
        <meta name="keywords" content="3D Animated Cube" />
        <link rel="stylesheet" href="yourpath/yourstyle.css" />
    </head>
Now create a body section. You can put whatever you like in the body, but for this demo to work, you MUST have the following <div> somewhere in the body. Do not close the <body> with a </body> tag just yet, we need to add some JavaScript to make this demo work!
<body>
    <div id="ThreeCanvas"></div>
Now we will make reference to the Three.js and THREEx libraries we need to use for this demo:
These first two libraries are the main Three.js library and a graphics detector that looks for WebGL. you can find these libraries on Github by the genius: Mr Doob, or you can add the link paths shown below to my domain to get a copy of the files in browser and then save the test to a file on your local machine.
<script src="Three/js/Three.min.js"></script>
<script src="Three/js/Detector.js"></script>
Now we also add a reference to the THREEx library. THREEx can be found at: Jerome Etienne
<script src="Three/js/THREEx/THREEx.KeyboardState.js"></script>Now the real fun starts: We are about to write some custom JavaScript code using Three.js to rotate a cube in 3D. First, open a <script> tag and add the below, but do not close the tag yet with </script>
	<script>

		// MAIN
		// standard global variables
		var container, scene, camera, renderer
		var keyboard = new THREEx.KeyboardState();
		var SCREEN_WIDTH = Math.floor(window.innerWidth * 0.8);
		var SCREEN_HEIGHT = Math.floor(SCREEN_WIDTH * 0.75);

		window.addEventListener('resize', onWindowResize, false);

		// Custome global variables
		const cubes = [];  // just an array we can use to rotate the cubes

		init();
		animate();
To explain, the first four var lines define a bunch of variable our script will use below. the SCREEN_WIDTH and SCREEN_HEIGHT definitions set up a nice aspect ratio and are based on the width of the browser window.
The line window.addEventListener('resize', onWindowResize, false); tells the browser to run the function onWindowResize() whenever the browser window is resized.
We next create an array as a constant for cubes, noting we are only using one cube in this demo.
We then run the function init() and next the function animate()
In the next few lines, we declare the function init(), we use the Detector.js library to check and see whether the browser has WebGL capability.
We now assign the renderer variable created above to the result of the Detector.js check giving us WebGL or a CanvasRenderer
function init() {
    // RENDERER
    if ( Detector.webgl ) {
        renderer = new THREE.WebGLRenderer( {antialias:true} );
        // console.log("WebGL is being used");
    } else {
        renderer = new THREE.CanvasRenderer();
        //console.log("Canvas is being used");
    }
Note, by uncommenting the //console.log() commands in the above section, you can see in the debug console what your browser is doing with graphics.
Now we are ready to set-up the environment by setting the renderer size and telling Three.js where to render the output to:
			renderer.setSize(SCREEN_WIDTH, SCREEN_HEIGHT);
			container = document.getElementById( 'ThreeCanvas' );
			container.appendChild(renderer.domElement);	container.appendChild(re
This code sets the output size of the render area to be 80% of the browser window width and the height to be 75% of that.
Next, the second line above finds an HTML element with id="ThreeCanvas" and assigns that to the variable 'container'
The third line above puts the renderer in the container, meaning that the <div> with id ThreeCanvas is now the target for our animations
Now we are ready to set-up the animation scene, by creating field of view, aspect ratio, near and far variables...
const fov = 75;
const aspect = 2;  // the canvas default
const near = 0.1;
const far = 5;
Next, we create a camera and the scene:
camera = new THREE.PerspectiveCamera(fov, aspect, near, far);
camera.position.z = 2;

scene = new THREE.Scene();
We are getting there...
Now we set-up some variables to create a cube...
These are fairly self-explanatory in that they create a cube with unit length sides and then a 'geometry' object which is created using the BoxGeometry constructor.
const boxWidth = 1;
const boxHeight = 1;
const boxDepth = 1;
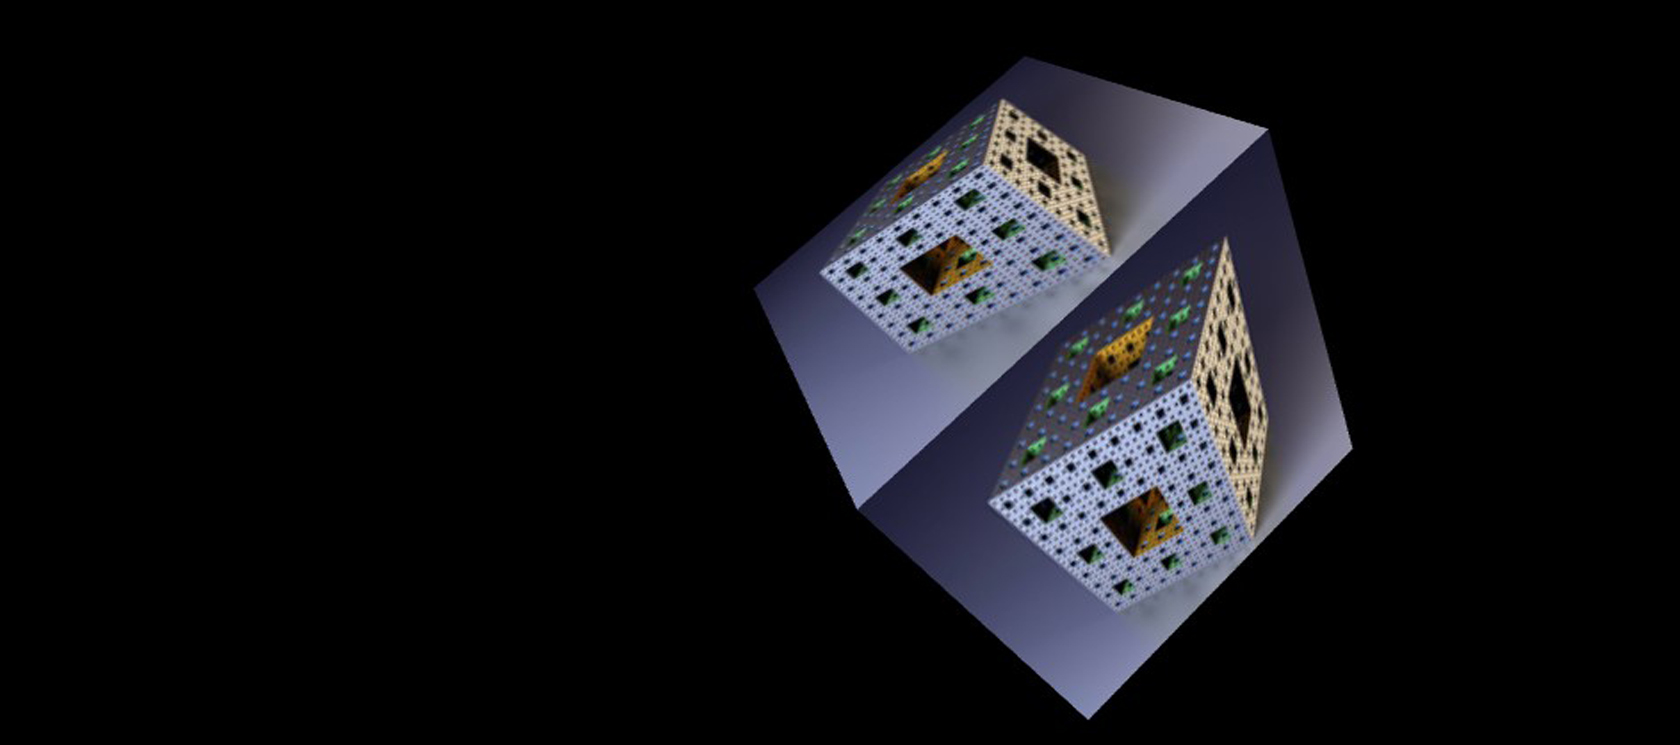
const geometry = new THREE.BoxGeometry(boxWidth, boxHeight, boxDepth);We now define the cube by creating a materials array, the elements of which are six meshes to define each face of the cube. In the example below, change 'images/blog0003.jpg' to your own .jpg for Three to use as an image map for that face.
I did not make a loop in the code as it allows you to more easily use different images and experiment!
const loader = new THREE.TextureLoader();

const materials = [
    new THREE.MeshBasicMaterial({map: loader.load('images/blog0003.jpg')}),
    new THREE.MeshBasicMaterial({map: loader.load('images/blog0003.jpg')}),
    new THREE.MeshBasicMaterial({map: loader.load('images/blog0003.jpg')}),
    new THREE.MeshBasicMaterial({map: loader.load('images/blog0003.jpg')}),
    new THREE.MeshBasicMaterial({map: loader.load('images/blog0003.jpg')}),
    new THREE.MeshBasicMaterial({map: loader.load('images/blog0003.jpg')}),
];
Next, we create the cube and add it to the scene...
The first line below creates the cube using the geometry we defined and the materials with the mappings to the .jpg file(s)
The second line adds the cube to the scene and the final line puts the single cube we just made into our array of cubes created at the start. When we have many cubes or objects, this becomes a useful technique as it means we have something to keep track of many objects.
const cube = new THREE.Mesh(geometry, materials);
scene.add(cube);
cubes.push(cube);  // add to our list of cubes to rotate
Now we finish the init() function by closing with a curly bracket:
}In the next part of the script, we create a function to handle window resizing by looking for a resize event and then making the animation area 80% of the browser window width with a height of 75% of that.
function onWindowResize() {
    camera.aspect = window.innerWidth / window.innerHeight;
    camera.updateProjectionMatrix();
    renderer.setSize(Math.floor(window.innerWidth * 0.9), Math.floor(window.innerWidth * 0.9 * 0.75));
}
Now, we create our render loop, the heart of the animation:
function render(time) {
    time *= 0.001;
    cubes.forEach((cube, ndx) => {
        const speed = .2 + ndx * .1;
        rot = time * speed;

        if ( keyboard.pressed("z") ) {
            rot = 10 * rot ;
        }
        cube.rotation.x = rot;
        cube.rotation.y = rot;
        cube.rotation.z = rot;
    });
    renderer.render(scene, camera);
    requestAnimationFrame(render);
}
Breaking this code down, the entire block is a function called 'render' which takes a parameter 'time'. The 'time' variable is changed (time *= 0.001;) within the function which later calls itself.
The function loops through every cube in the cubes array (in our case, just the one) and creates a variable called rot for the rotational speed of the cube.
If someone presses 'Z', the speed is multiplied by 10, speedy! The resulting rotational speed is then applied to the x, y & z rotation property of each cube object.
renderer.render(scene, camera); renders the scene to the camera
requestAnimationFrame(render); passes the render function to the Three function requestAnimationFrame() which processes the next frame (or waits of the browser window is not visible to save resources)
Now, we create the animate function and most importantly, we close the script tag we made above all of this JavaScript above with a </script>:
    function animate() {
        requestAnimationFrame( render );
        render();
    }

</script>
This animate function is simple, it checks to see if an animation frame should be drawn and renders accordingly in a never-ending loop
We hope this has been useful and instructive.